How to change date and time settings
By default, our WordPress timesheet plugin with the setting to display date and time to the US time formatting preferences. For example, current date and time would look something like this: 22 Jan 2025 9:03am.
Date and time format
In various parts of the timesheet application all the date and time values are formatted according to these default settings.

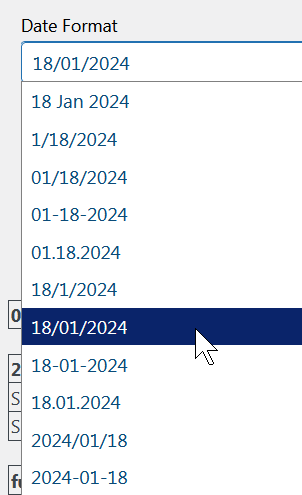
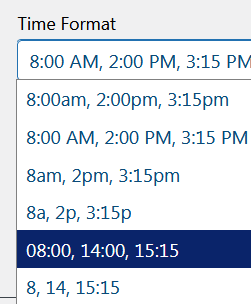
Perhaps this will not work for everyone. So, you can easily change the formatting for your date and time display in Plain Tracker WordPress timesheet management system. In the WordPress admin panel, go to Plain Tracker > Settings > Date and Time. You will see the settings form for all the time realated options.


For example, let's change it to the German date and time format like 22/01/2025 09:03. Choose the appropriate options in the date and time settings form, then click Save to apply the new settings.


Now the date and time values will be displayed formatted according to the new settings.

The first day of the week
Almost all countries in North and South America start their week on Sunday, while countries in Europe and Oceania overwhelmingly start on Monday. Roughly half the countries in Africa and Asia are on team Sunday, the other on team Monday.
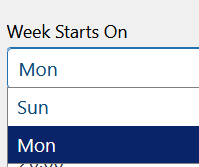
You can set your preference in Plain Tracker > Settings > Date and Time > Week Starts On

This setting will affect the time cards browser when you choose Period: Week and click Previous Period and Next Period navigation buttons.

